AX-12 control using AVR Atmega128 /Atmega8
AX-12 control using AVR Atmega128 /Atmega8
![]() by bootstrap
by bootstrap
Thu Sep 04, 2008 2:13 pm
I am new to bioloid AX-12.I have bought one for my research project.Unlike a normal servo this accepts a data packet is all I know and I am unable to make it turn and my professor is going to screw me.
Are there any implementations of CM5 ,CM2+ or CM2 (hardware and software) or using the Atmega128 or Atmega8.Please help me out.Also I tried searching for CM-5 boot-loader but couldn't find it.


![]() by bootstrap
by bootstrap
Fri Sep 05, 2008 3:17 am
StuartL wrote:The Bioloid AX-12 comes with a very good PDF describing its operation. You should be able to figure out most of it from the PDF.
I have read all the manuals.I dont want to buy the CM5 or CM2+ or CM2.I want to build it from scratch.I have built the Atmega128 circuit but the circuit is incomplete.The commonality in CM2 and CM2+ is that both communicate with the PC at UART1 and with the Dynamixels at UART0.
Could you please help me with the bootloader of CM5 or any hardware and software as a completer solution to drive the Dynamixel
![]() by StuartL
by StuartL
Fri Sep 05, 2008 7:05 am
No disrespect but we managed to figure out the code for all of this from a combination of the Robotis PDFs and the Atmel PDFs (from http://www.atmel.com/). I'm very willing to help people out in their own investigations by answering any questions they've come up with in their own development but I'm not going to gift you working software if you're not prepared to do a bit of hard work yourself.
I'm not prepared to give you a copy of the Robotis bootloader if you just want to clone their hardware. It's something Robotis have worked hard on and is a commercial product. It seems morally and legally unfair for me to provide their (copyrighted) software if it's just because you don't want to stump up the cash for a CM-5, which is REALLY cheap.
First thing to do is figure out how much code you want in the bootloader versus how much code you want in the application. In Atmel chips an application can never flash its own memory so all of your flashing needs to be in the bootloader.
Come up with these ideas and put some code together to start talking to the bus, get the comms to the servo working in application code and then ask the forum here any questions about problems you're having. If you do want to get a head start Robotis provide an example.c in their software, although it is full of bugs
![]() by StuartL
by StuartL
Fri Sep 05, 2008 7:16 am
- Read the ATmega128 PDF at least twice. Cover to cover. Make notes of anything that might affect what you're doing.
- The fuse bits are critical to getting the AVR running. By default the JTAG port is enabled and the AVR uses its internal (uncalibrated) 8MHz RC oscillator. This is definitely not what you want.
- It's VERY easy to brick an AVR if you set the wrong fuse bits. We have one here that got bricked because we read the wrong PDF when calculating what the fuse bits should be. For the record a ATmega164p doesn't work well with ATmega8 fuse bit settings. It's currently trying to use an external 500kHz crystal, something we don't have.
- Read the ATmega128 PDF at least twice more. You're bound to have missed something.
- Be super careful with the clock settings, prescaler etc when you initialise the AVR. It's easy to cock up here too
- Use the 'register' sections of each chapter to calculate what you need for the registers for each of your sections. Make sure that you get them right and test-test-test each section of your C/ASM before assuming it works.
- Until you've got debugging working out of the serial port(s) you're going to be reliant on LED or pin+multimeter debugging. Test small amounts of code by setting the LED to a value dependent on a condition you're expecting. For a CM-5 clone the large number of LEDs makes this easier. e.g. We don't set the power LED as 'on' in our software until we've confirmed that the initialisation has worked.
![]() by limor
by limor
Sat Sep 06, 2008 11:36 pm
![]() by bootstrap
by bootstrap
Sun Sep 07, 2008 4:37 am
limor wrote:and regarding setting the right registers' bits, an alternative to agonizingly memorizing the many relevant pages in the atmega128 manual... is to use Algorithm Builder - http://algrom.net/
Hi ,I was able to build an Atmega128 board and was able to talk to the AX-12 .I transmitted the packet from the PC to Atmega128 via the USB-232 Converter and via MAX232 at 115200 Baud. Then echoed the same packet to AX-12 via the UART 1 but at a baud rate of 1Mbps.
(Also I thank Jon and Dave Hylands for their extensive support )
Also there is a dynamixel commander software provided by forest moon
http://forestmoon.com/Software/DynaCommander/
Individually both the servos were working fine.But later when I daisy chained them and tried to change the parameters the AX-12 closest to the servo stopped responding.Both the servos stopped responding now.Although the LED flashes when powered up.
What shall I do please suggest?Are the AX-12s now dead?
![]() by bootstrap
by bootstrap
Sun Sep 07, 2008 9:50 am
StuartL wrote:Other things to note when you're programming AVRs:
- Read the ATmega128 PDF at least twice. Cover to cover. Make notes of anything that might affect what you're doing.
- The fuse bits are critical to getting the AVR running. By default the JTAG port is enabled and the AVR uses its internal (uncalibrated) 8MHz RC oscillator. This is definitely not what you want.
- It's VERY easy to brick an AVR if you set the wrong fuse bits. We have one here that got bricked because we read the wrong PDF when calculating what the fuse bits should be. For the record a ATmega164p doesn't work well with ATmega8 fuse bit settings. It's currently trying to use an external 500kHz crystal, something we don't have.
- Read the ATmega128 PDF at least twice more. You're bound to have missed something.
- Be super careful with the clock settings, prescaler etc when you initialise the AVR. It's easy to cock up here too
- Use the 'register' sections of each chapter to calculate what you need for the registers for each of your sections. Make sure that you get them right and test-test-test each section of your C/ASM before assuming it works.
- Until you've got debugging working out of the serial port(s) you're going to be reliant on LED or pin+multimeter debugging. Test small amounts of code by setting the LED to a value dependent on a condition you're expecting. For a CM-5 clone the large number of LEDs makes this easier. e.g. We don't set the power LED as 'on' in our software until we've confirmed that the initialisation has worked.
My implementation is based on Jon and Dave Hylands project given here :
http://www.bioloid.info/tiki/tiki-index ... =pc+serial
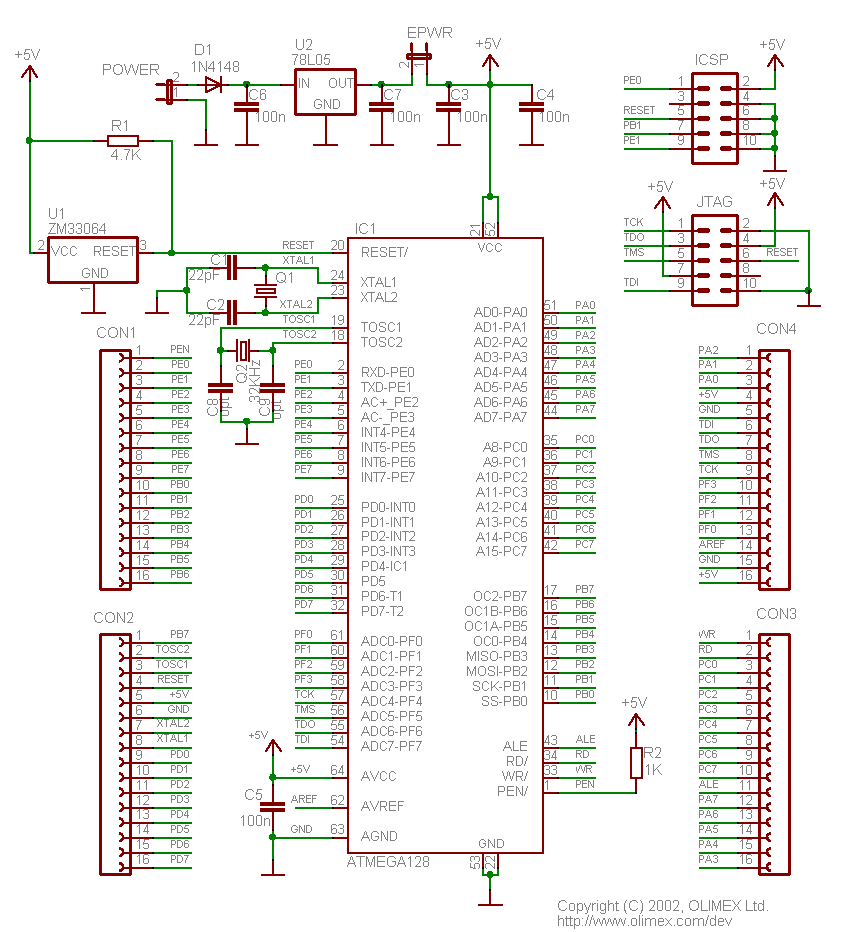
The the schematics for Atmega128 are here:
http://www.sparkfun.com/datasheets/AVR/AVR-H128-sch.gif
The only thing is I built the Atmega128 circuit board on my own:
Mine is a cut down-version of the above board.I installed the connector for programmer.Connected Atmega128 on UART0 to the PC using a USB to RS232 converter via a Max232 chip (I dint use a USB to TTL converter as it was not available in the local market).Installed a 16 Mhz oscillator.Programmed the fuse bits of Atmega128 as Efuse =FF ,Hfuse =89 and Lfuse =FF.Powered the micro-controller from my USB programmer (or you can use a 5V regulator and power it up).And connected the AX-12 on UART1 by installing a jumper on the Rx and TX of UART1.Also I gave a separate power supply of 8V to the AX-12 with a common ground.
As per the host software you can use Dynacommander (But I have to warn by daisy chaining servos with same ID or changing the parameters from the property table of Dynacommander by forestmoon left my AX-12s unresponsive).For the hex on Atmega128 you need to use the same provided in Jon and Dave's project.
Also if any one could please tell me how to recover the AX-12 ,I would be the most happiest.In case of any queries about the implementation please ask in a new thread.(not this one)
![]() by StuartL
by StuartL
Sun Sep 07, 2008 2:45 pm
My best suggestion for recovering the AX12s is to write a bridging function on the ATmega128 to bridge the serial port to the 1Mbit bus. Then press the hash key (#) repeatedly and connect an AX12. If you do it right you should see the bootloader appear which has an option (can't remember which) to reset the eeprom. Try at whatever baud rates on the bus you think you may have (accidentally?) reset the AX12 to.
After that it's time to get the programming cable out and solder onto the AX12 programming pins to reset the eeprom. Hopefully it won't get that far.
![]() by bootstrap
by bootstrap
Mon Sep 08, 2008 2:09 pm
StuartL wrote:First things first: The AX-12s seem to reset themselves to ID 1 when they have an issue. If you've got two ID 1s on the bus you'll have trouble. If you debug your bus code you'll probably see two (overlapping) responses to your PING requests.
My best suggestion for recovering the AX12s is to write a bridging function on the ATmega128 to bridge the serial port to the 1Mbit bus. Then press the hash key (#) repeatedly and connect an AX12. If you do it right you should see the bootloader appear which has an option (can't remember which) to reset the eeprom. Try at whatever baud rates on the bus you think you may have (accidentally?) reset the AX12 to.
After that it's time to get the programming cable out and solder onto the AX12 programming pins to reset the eeprom. Hopefully it won't get that far.
I was able to reset one AX-12.But other AX-12 I pressed UPDATE accidentally and it got Flashed and now when I power the AX-12 the Red light is always on.The firmware in it got erased.Well I have the firmware for the AX-12 though ,it is a .rom file.Normally it is updated in to the AX-12 via the CM-5.But since I dont have the CM-5 how shall I upload the .rom file to the AX-12.(I think the bootloader of it should remain intact)